Showing posts with label Austin Maestro. Show all posts

Sunday, 6 September 2020

Summer fun run


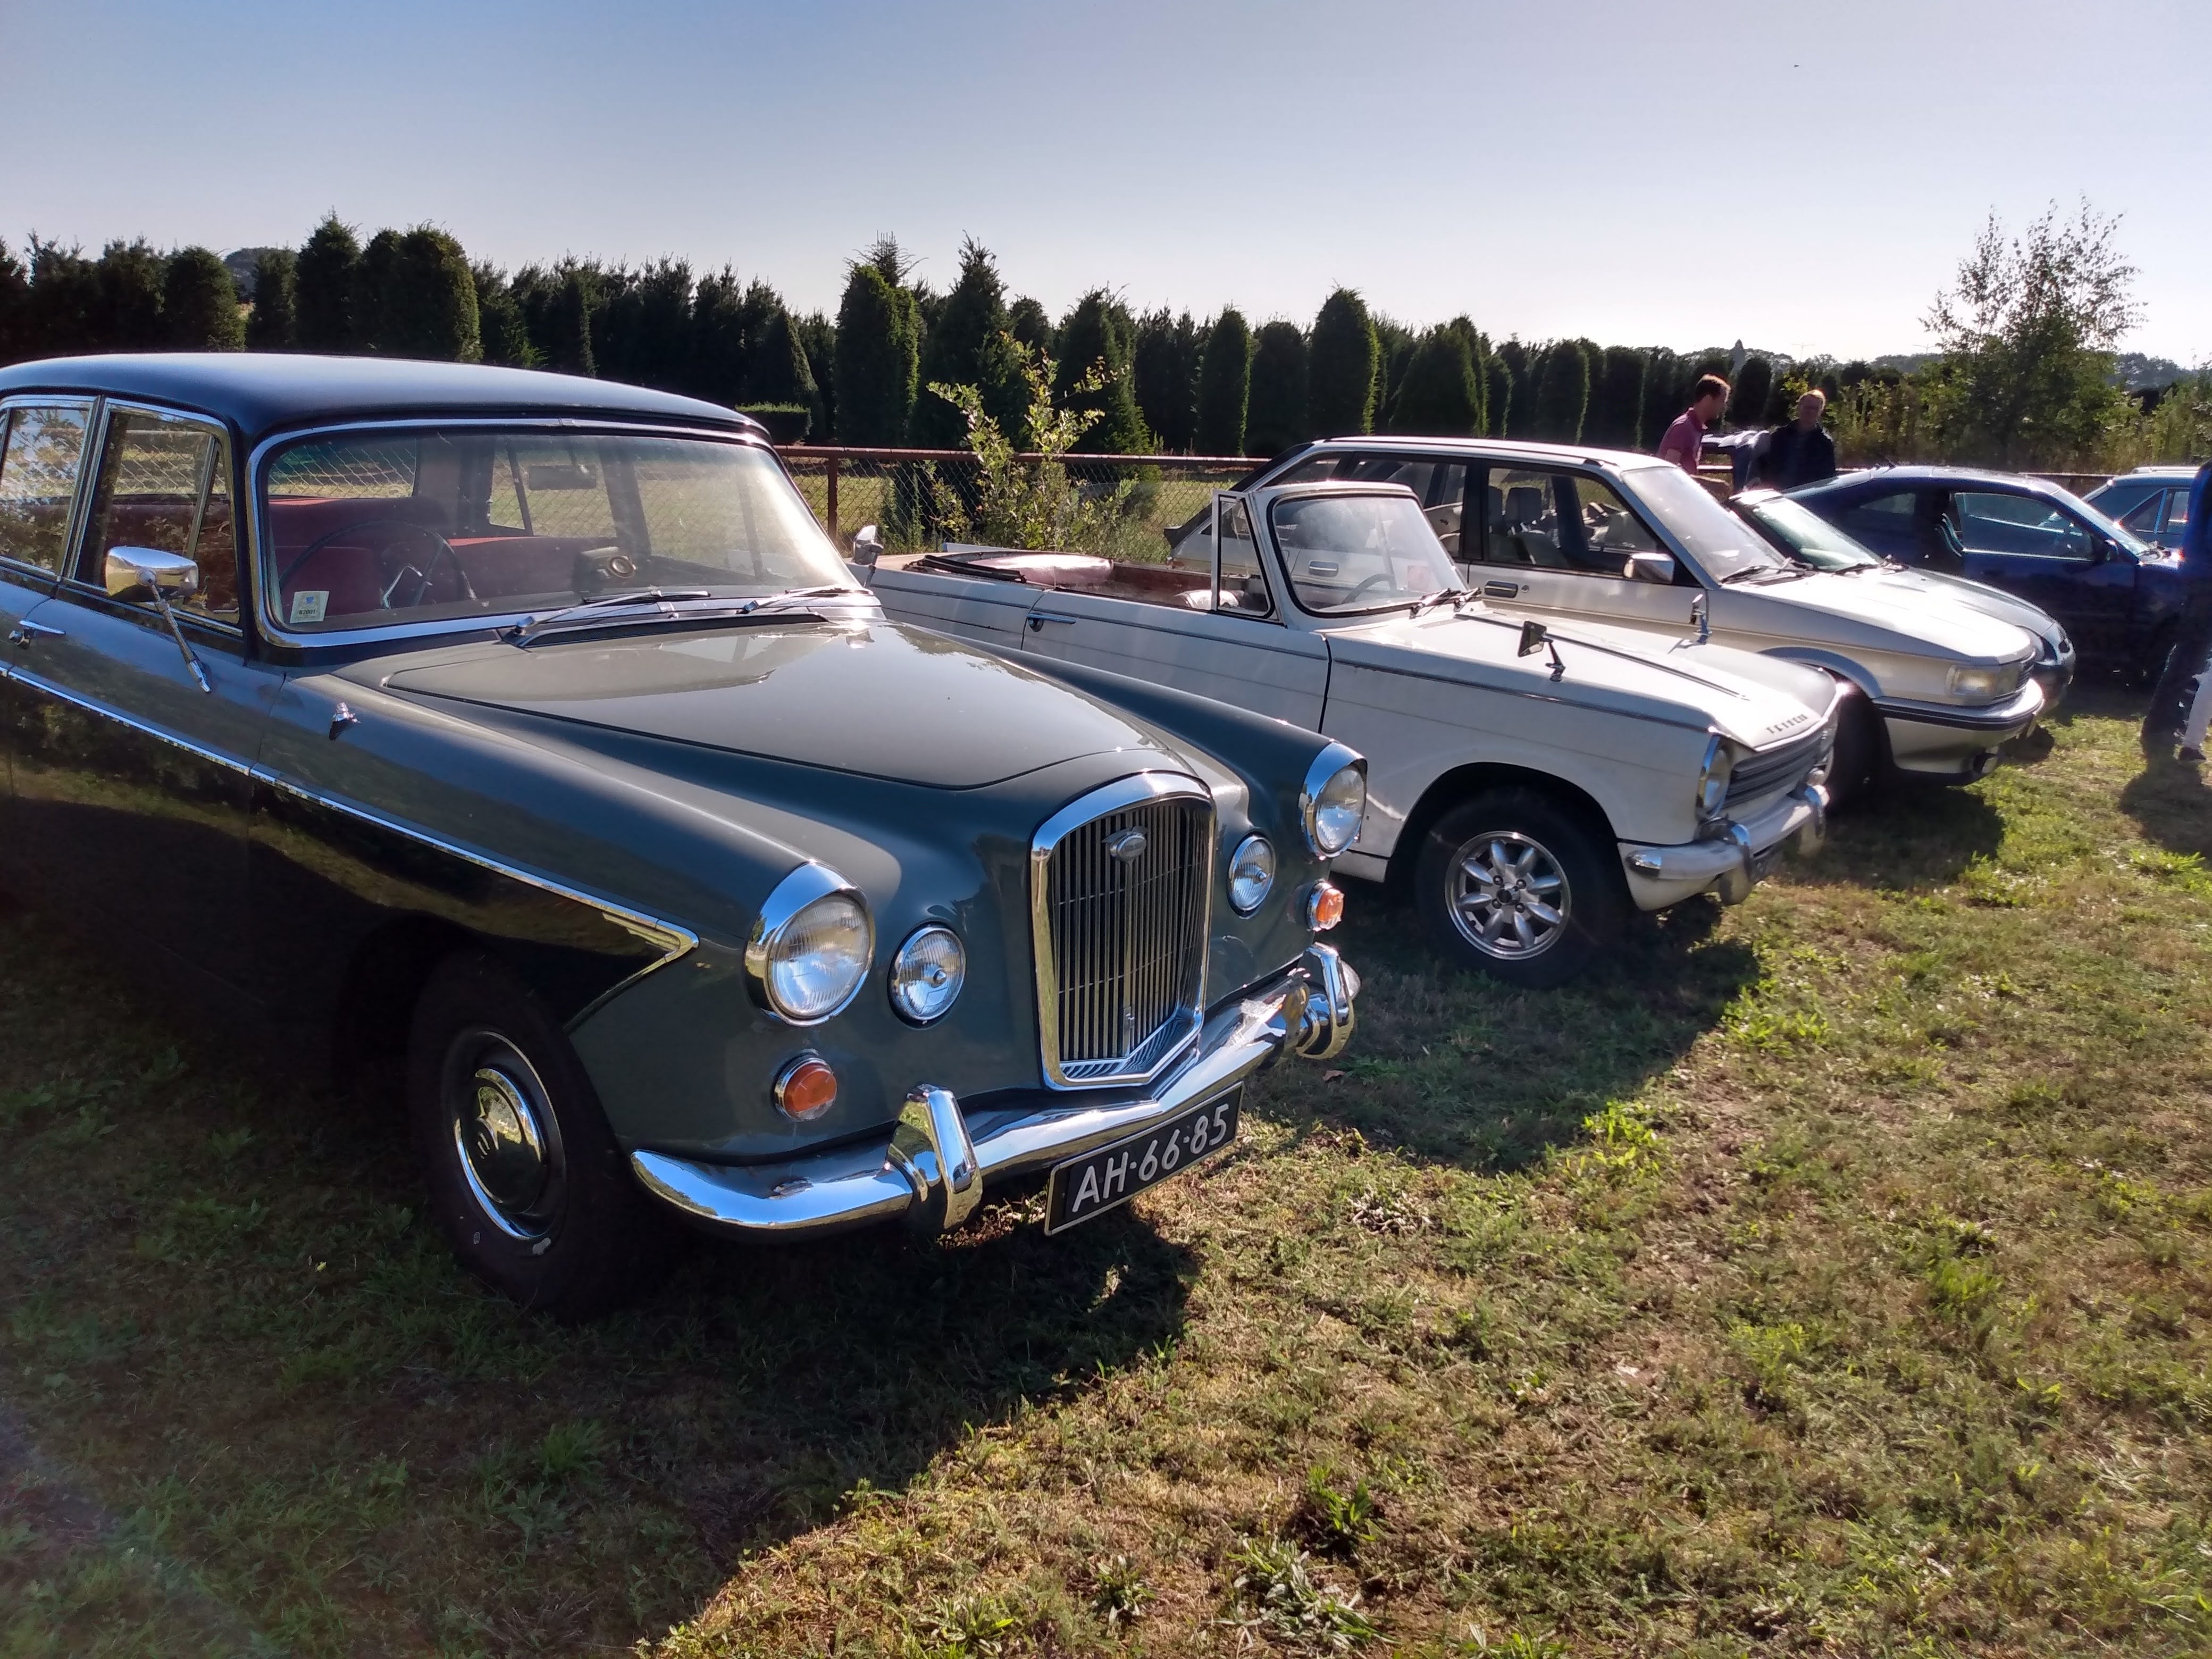
It was a fine summer day for a drive in the open MGF to the second car to the AMRWR.nl summer run.  A good selection of the various club cars drove to this venue. Even our former brown Maestro arrived from Belgium. Still looking good. 


Thursday, 28 April 2016

Goodbye Maestro

Today the sun was out just long enough for me to take a few final photographs before the new (and previous) owner would take the Maestro to his new Home.


 My last spannering action was to fit a new econometer as the old one had ceased to function years ago. This very rare item was donated by a very kind friend and Maestro enthousiast.
The econometer really adds to that Eighties Tech design of the dashboard
  
But the Econometer is rather distracting while driving I found. The idea is that you avoid activating the red lights, but it is tempting to try and trigger as few orange lights on the bar too. Driving "in the green" can be annoying to fellow motorists, I'm sure! 
Though the Maestro arrived on a trailer a few years ago and also left on a trailer today, this time it was a very different vehicle that was being carted away. The reasons it went on the trailer today were only practical ones not connected to reliability. The Maestro is a properly reliable and well driving car now, so I'm sure the current keeper will enjoy many pleasurable miles with "Praline".

Saturday, 7 November 2015

Maestro Gearbox Change: It's a 3+E again!

Making a right mess in the shed. For unknown reasons someone had fitted a normal 4 speed gearbox to our Maestro LE. When new the car was fitted with the notorious 3+E box, so there was no question that  the old 3+E should go back into the car! 
This is the original gearbox that a previous owner had removed when the engine was changed after frost damage. Good thing he kept the gearbox safe.

Removing the gearbox was fairly straight forward and turned out to be a one man job. I was suprised to find so many different bolt sizes used. Maybe that's what happens if a manufacturer decides to use a Volkswagen gearbox in a British car. 
 
Comparing these two boxes confirmed the fact that they were dimensionally the same and that the gear ratios were different, so I could go ahead and fit the correct gearbox.
Lifting the gearbox in place proved more difficult than removing, but with the use of an engine hoist it was fairly easy to manoeuvre the gearbox in position. Then after performing the tedious task of refitting al the nuts and bolts the engine bay looked as if nothing had changed. Slightly cleaner perhaps.

Of course I couldn't wait to test drive and see how the new gear ratio's might change the character of the car. First impressions are that it is a great improvement at motorway speeds and that at lower speeds the new ratios take some getting used to. Only first gear is unchanged and you can use third much as you would previously top gear. It's much like an old three speed with an overdrive added, so top gear however should only be used a motorway speeds to prevent labouring the engine, but at those speeds this is a big improvement over that noisy old box!


Monday, 13 April 2015

"In Pago Wierense"


"Praline" The Brown Maestro took us all the way to the Far North for a pleasant AMRWR spring rally. You shouldn't take that "Rally" bit too serious as we lost our way about halfway through the splendid roadbook. I know we're hopeless, but it was a very pretty place to be lost. 

Tuesday, 24 March 2015

Maestro Fuel pump


Cold starting the Maestro after several weeks of hibernation was very hard. It seemed the float chamber, filter, pump and the fuel lines were completely empty and it took a very long time to pump up enough fuel to start the engine. After this daily or even weekly restarts are without any problem, so replicating the problem was difficult.
 
It could be that the return valve on the fuel pump was not working correctly. So I replaced the fuel pump with another. I noticed the pump can be disassembled, so there might be scope for a rebuild.

Tuesday, 18 November 2014

Maestro shocking rear

As I had so much fun changing the front shocks I decided to change the rear ones too. It seemed a shame to keep the new ones boxed.
And it turned out to be a good idea as, even though they still worked well enough one of the top carriers had rusted through. In the past someone had already tried to fix this with a huge shim.
 I had a spare selection of struts, so I could use the best parts to make a good set for our Maestro.
 Again the big spring compressor made easy work of taking the struts apart.
 Ans before I knew it I had two nice shockabsorbers fitted to my springs.
 And a nice pile of old springs for spares. You never know what I might need.
The new McPherson assemblies look pretty under the car. They are quite greasy as I have covered them in anti rust wax in an effort to keep the rust away for a while.

Thursday, 13 November 2014

Absorb that shock, Maestro!

 The front shock absorbers were worn out as the car was a bit bouncy 
 We use a sturdy spring compressor, so changing them safely was no hassle at all.
 Here's one of the new ones fitted to the coil and the old one ready for the bin
The whole assembly fitted to the car: big improvement! The rear seems fine, but now I'm tempted to change those as well.

Saturday, 8 November 2014

Choke on that Maestro

 
In a previous post I reported erratic flooding of the carburetor caused by leaking seals in the choke valve on the Austin Maestro SU HIF carburetor. I didn't have these seals, so I ordered a kit from SU themselves. As a temporary solution I stopped the flooding by plugging the flow of fuel to the choke valve. The car started and drove well in warmer weather, but now temperatures were dropping it got harder to start without some form of enrichment. So it was time for a proper repair.
 
This o-ring is the actual seal. It was very brittle by now, so the whole assembly was cleaned and new o-rings were fitted. As you can see the HIF uses a rotary valve as an enrichment device. When this seal leaks the mixture turns very rich. As it doesn't happen all the time the car will run fine some of the time and finding the cause was a bit baffling. From now on I will change these seals when a HIF gives me trouble. I think there is very little to go wrong on a SU HIF, but this must be one of the main causes of problems with an old HIF as these seals were brittle and perished.

I also changed this big O-ring on the float chamber bottom as that one was also hard and it fell apart as soon as I touched it.Of course I removed my home made plug from the choke tube too.
Of course this Maestro came from the factory with an automatic choke on HIF-E, but as I have fitted a manual choke there's a real pull out choke in the dashboard now. Apologies to the purist, but it works very well now. 


Wednesday, 29 October 2014

Maestro Wheel trim upgrade

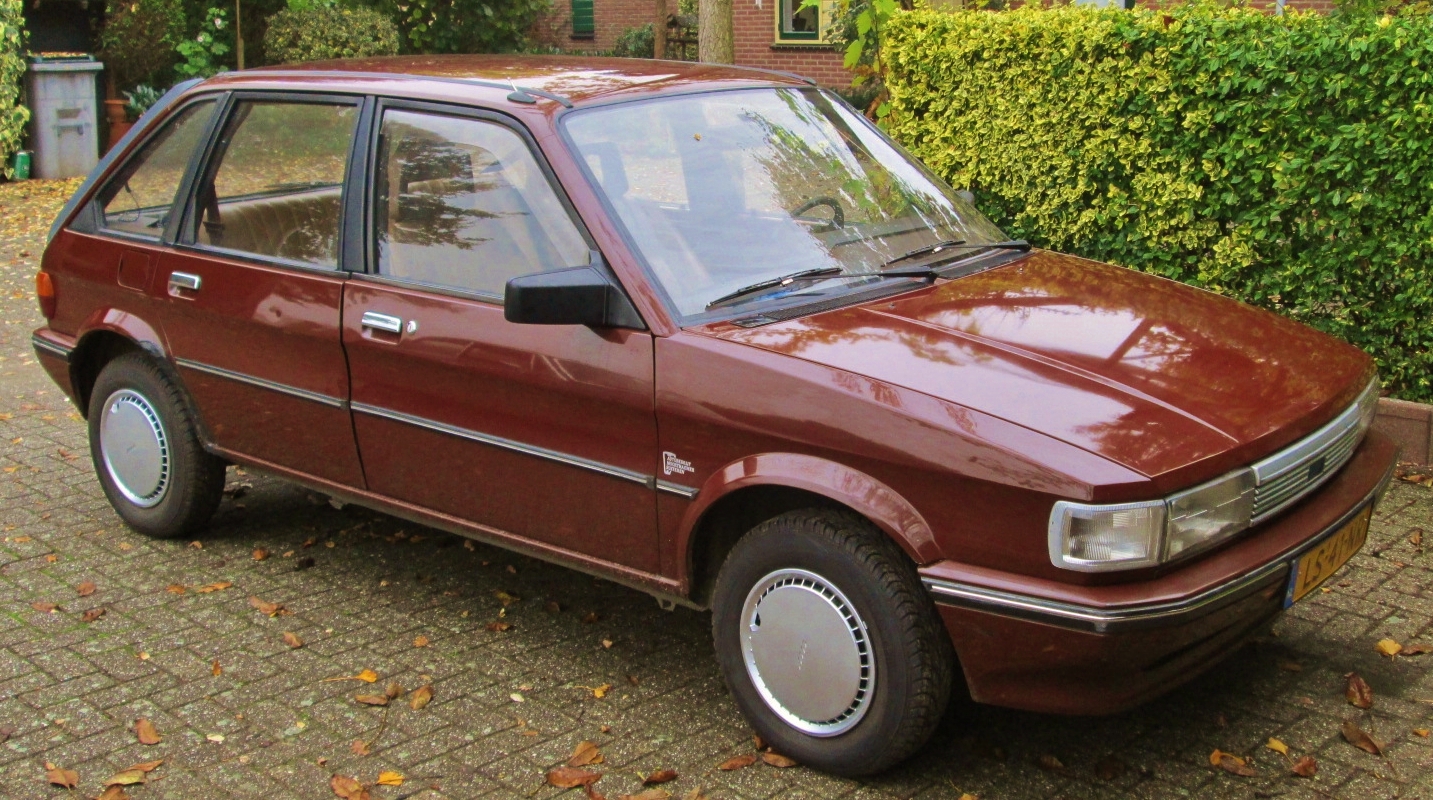
The wheels on the Maestro were pretty ugly, so I had fitted some generic wheeltrims as a temporary fix . These trims looked fine,  but a few weeks ago I was given a well used set of original Maestro trims off a more upmarket model. After some cleaning, sanding and a respray in a fetching shade of silver the new trims looked almost new.
 
 As you can see the new trims have a suitably Eighties design with hints of turbines and some solid streamlining.
  
 The new trims suit the car well
 
This seemed like a good excuse to refit the missing chrome trims on the bumpers. The car looks almost respectable now.

Saturday, 11 October 2014

Maestro Autumn Amble

The Maestro made a nice run to the island of Tholen where the AMRWR enjoyed a friendly Autumn Amble in various weather conditions.
See all photos here