Showing posts with label MGF. Show all posts

Sunday, 6 September 2020

Summer fun run


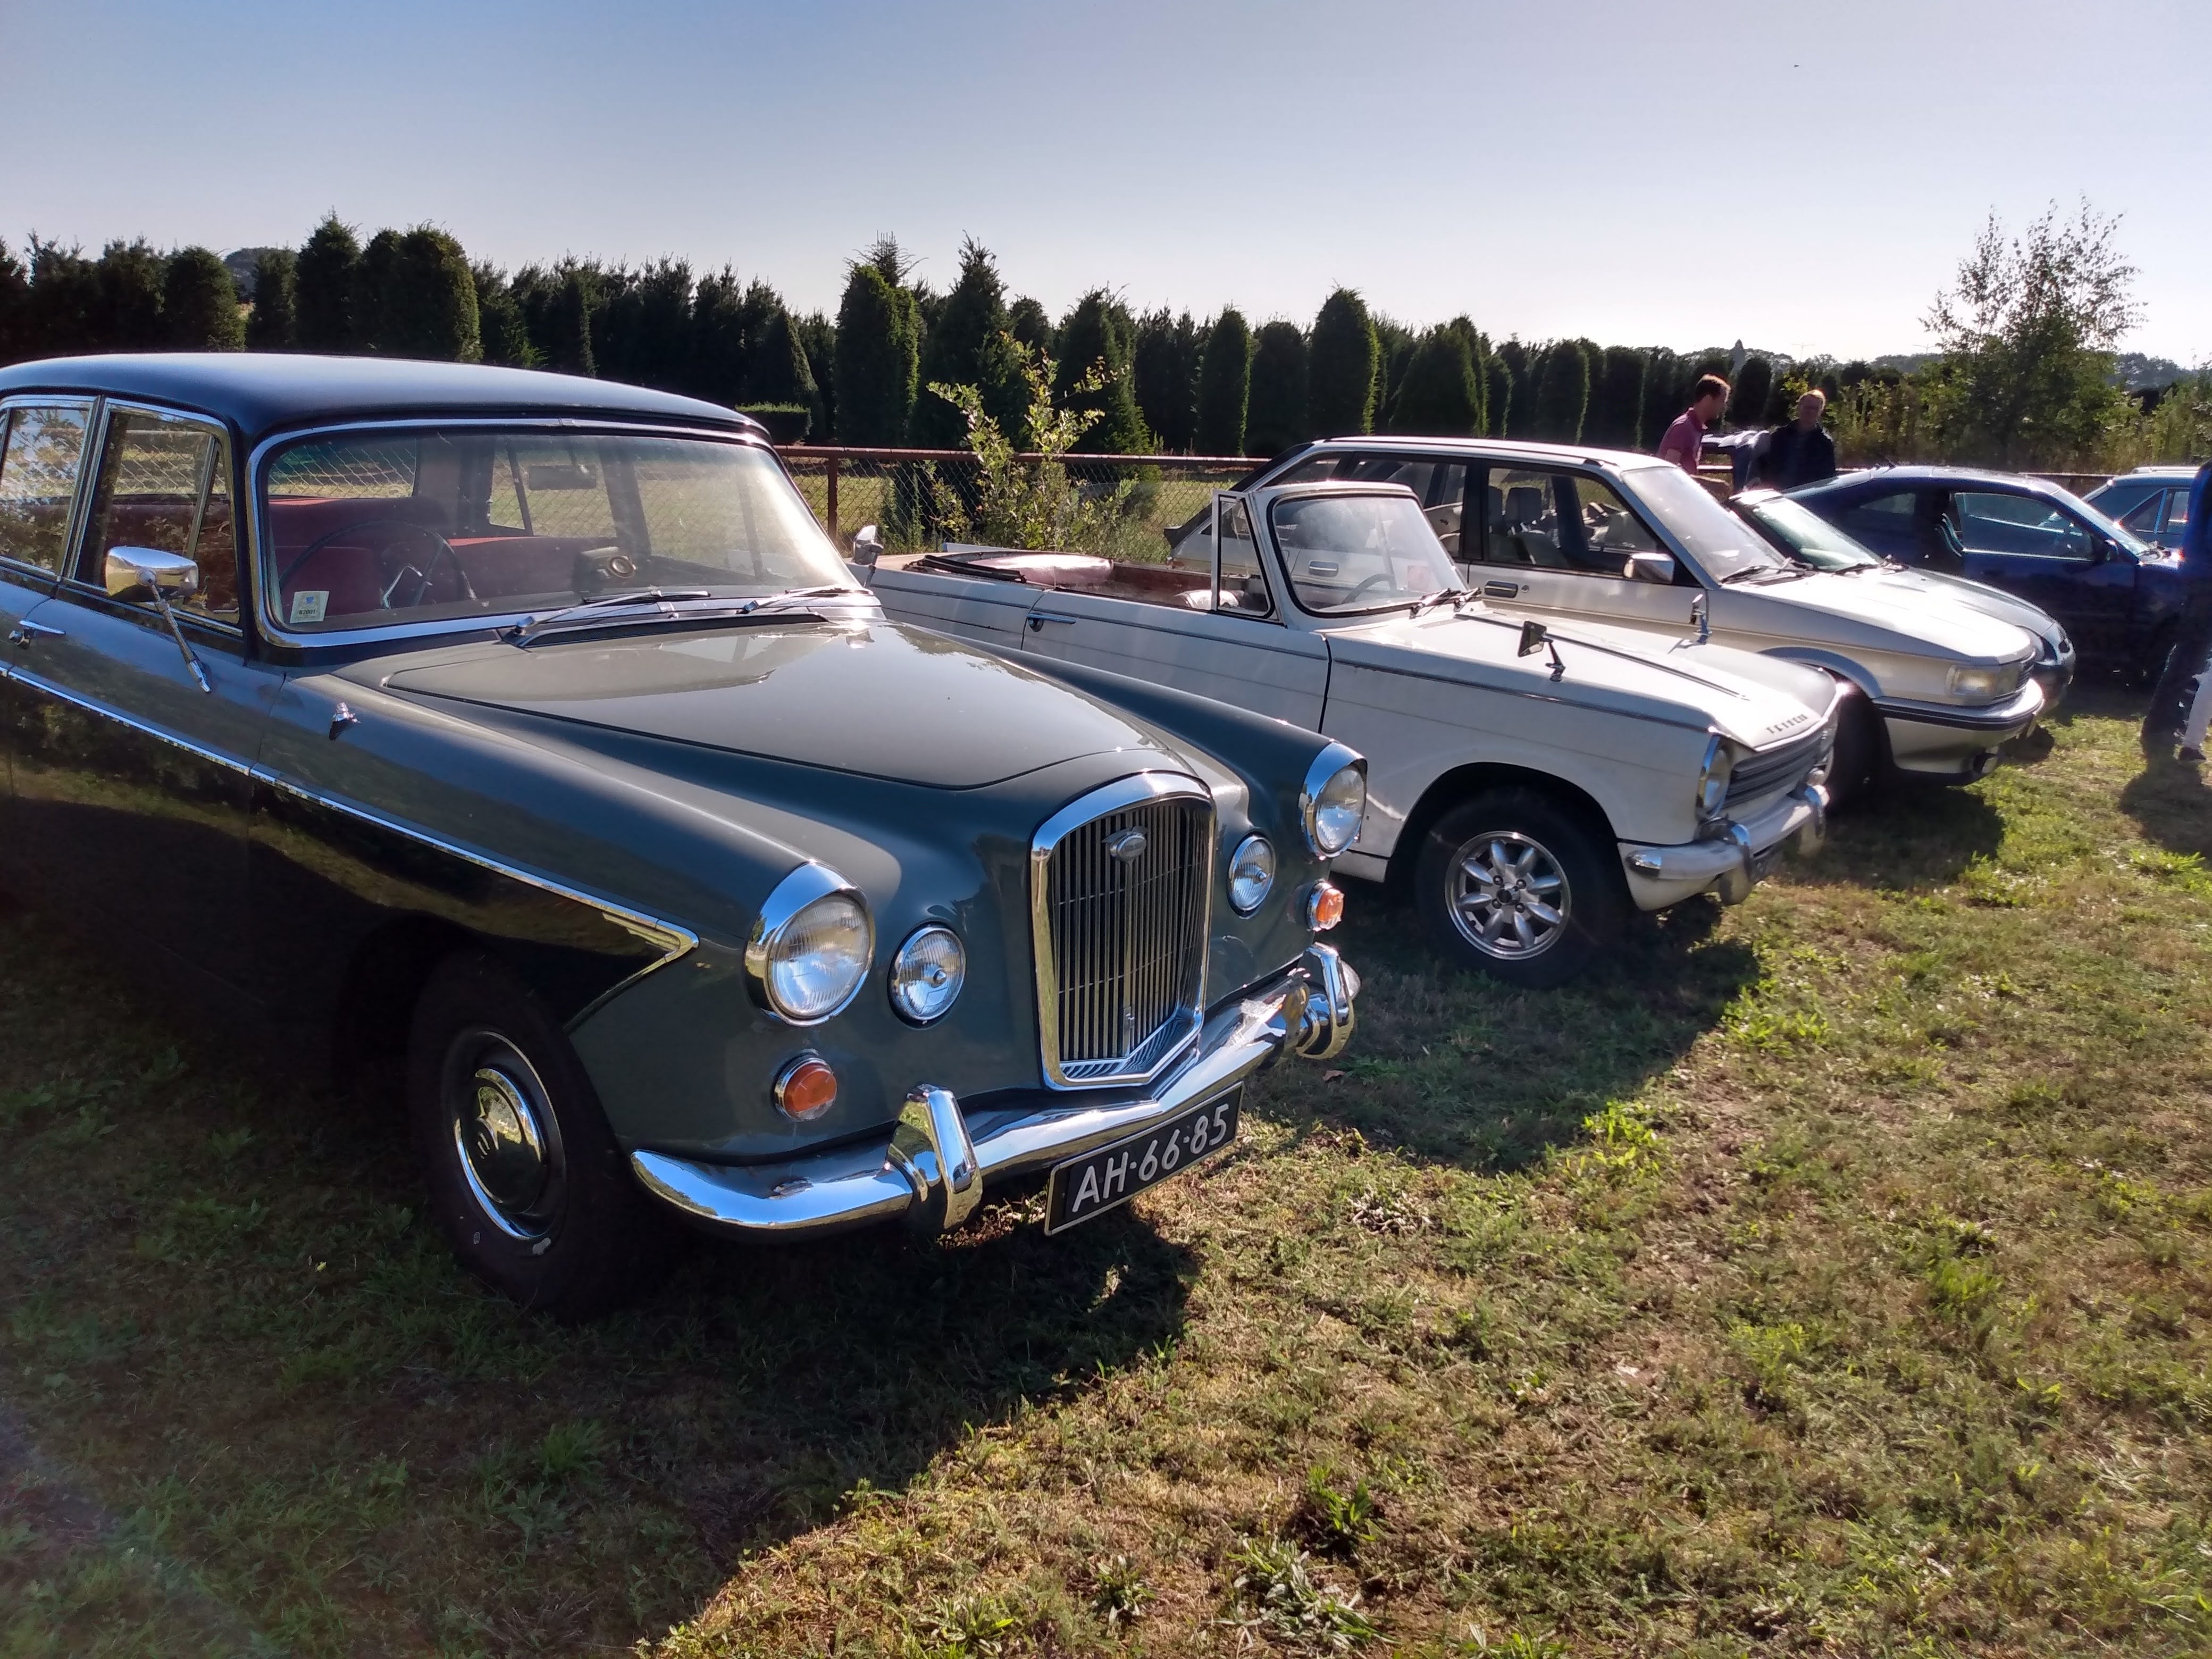
It was a fine summer day for a drive in the open MGF to the second car to the AMRWR.nl summer run.  A good selection of the various club cars drove to this venue. Even our former brown Maestro arrived from Belgium. Still looking good. 


Wednesday, 2 September 2020

MGF Headlamp failure and door handle failure


After buying a set of refurbished headlamps I was confident the MGF would pass the annual safety test, but I was very disappointed that the tester could not adjust one of the lights correctly. It took us quite a while to see that the culprit was an incorrect lens fitted to the right hand headlamp. It had a left hand lens fitted. 
With the headlamp apart the nice new reflector is evident. 
Here they are two identical left hand lenses. They are handed. The tester removed the correct lens from the old headlamp to fit it to the new one. 
Of course the bumper needed to come off again. Not so bad now we know how to. 
Here the headlamps are back in the car and it's a pass?
Well..actually no ! Now the door handle does not open the door anymore, so we have another fail situation. It was working fine yesterday, so something must have dropped off. I couldn't see very well into the door, so I took the car home to fix. 
After some fiddling (took a while) the handle is out and I could see this rather short screw has broken out of the plastic. Using a longer screw and superglue I could refit the plastic and a new screw. 
It attaches to this lever. 
Here the new screw is back in place and the handle works again. 
Finally we have a pass! Isn't it fun playing with old cars? 


Friday, 28 August 2020

MGF Headlight swap: a set of new Bifocals

One of the issues of the MGF is that the reflectors in the headlamps go dull. Not the lens as it's made of glass, but the plastic reflector. 
Here you can see it clearly. This will not pass the safety inspection, so we'll need to change the lamp. 
Though reflectors are available separately, they are hard to find, so it is best to use a set of "refurbished" headlamps fitted with new reflectors. To replace the headlights the bumper needs to come off. Though inconvenient and time consuming it is surprisingly easy. 
After carefully unclipping he indicators there are two large bolts at the front. And several more under the bonnet. 
And two on either side of the bumper inside the wing. For this the front of the plastic wing liner needs to be unscrewed and moved aside. While I had these parts exposed I soaked the inner wing and chassis parts with Waxoyl to prevent rust. 
With the bumper removed it is easy to reach the fittings of the lamps. There are two nuts on top and one screw on the side under the front of the wing. 
With the new lamps in place and tested it was time to refit the bumper. 
Job done. Now I can clearly see a bright future ahead for the MGF!

Wednesday, 19 August 2020

MGF to the disco: brake disc and pad service

The MGF uses disc brakes front and rear. Especially the discs at the rear looked rather bad and thin, so I decided to order a complete set for the car, including pads of course.  
Replacement of the disc is not very complicated, but it still took me a few hours. Dismantling and finding out how things fit and just taking my time tinkering. 
The new discs were of the "coated" variety, so I didn't have to clean them before fitting.  
As the handbrake is incorporated into the rear caliper the piston needs to be wound back into the caliper. To do this you need a tool to grab the four lugs. 
 So I made this simple tool to wind the piston back into the caliper. Just a steel strip with holes and a few nuts to fit into the lugs at the piston. I'm sure a bit of wood and a few screws would work just as well. 
Here I'm using the tool. They wind in easily, but it takes a while to wind them fully home. One of the lugs(holes) needs to end in a "three o'clock position" so a little dowel on the pads fits the hole. Otherwise the pads will grab the disc too tight.  
Some shiny new rattle clips go in  before the pads. 
The other rear disc looked much better.
New disc and pads in place. The coating is already coming off while the pads are lightly touching the surface. 
Front discs have even wear, but there is a sharp ridge at the edge. I didn't measure , but they seemed a bit thin to me. 
Here the piston can be pushed back with the usual tool.  Of course there is no handbrake at the front, so the pistons are not threaded in. 
All in place. I could have painted the caliper, but I decided not to. I'm sure the disc wil match the calipers after a few years of use. I did clean the suspension up a bit and sprayed the suspension and subframe with a cavity wax.  

The old discs will go for scrap or maybe a garden ornament. Not sure yet..

Thursday, 2 July 2020

MGF instrument cowl repair


The cowl over the instrument cluster on our MGF was broken and showed large cracks.
"Fortunately" the fixing clips at the rear had also broken, so I could remove the cowl easily by unscrewing the front. The rear clips seem to have been screwed in from the rear of the dashboard before the air ducts were assembled. Extremely hard to reach. What were they thinking when they designed that? 
I glued the cracks with epoxy glue. The gaps were filled with a polyester filler.
Underneath I strengthened the cowl by glueing thin metal strips to the plastic.
It was hard to sand the repair to make the joint invisible.
I used a textured coating to cover the joints. At first I thought it didn't work
But after several coats a regular texture covered the cowl.
With the cowl refitted the repair is hardly visible. If I want I can cover the cowl with cloth or some other material later. If I find the cowl rattles I'think I might fix the rear with one or two magnets.

Sunday, 26 April 2020

Wednesday, 25 March 2020

MGF leaky Hydragas connection


After replacing the displacers, I found that after a few days the suspension of the car went down a little. That is usually nothing to worry about, but when I found a little puddle of suspension fluid under the rear of the car, I was not happy.   
  Peering through the letterbox shaped aperture called the engine lid, I could see the fluid was dripping from the connection. As there are rubber seals on those pipes, I thought that the seals might have deteriorated. So I depressurized the suspension, and with some contortionist skills checked the seals.
And sure enough: both of the rear seals were leaking and one front seal was weeping a little.
After replacement of the 4 seals, I pumped up the suspension again. Now the suspension stays up and I can enjoy the comfortable Hydragas ride again.